I'm on a roll with this subject matter and I'm enjoying the results very much!
Each is glass mosaic on a 3D cement relief substrate.

"Bath" 20" x 26"

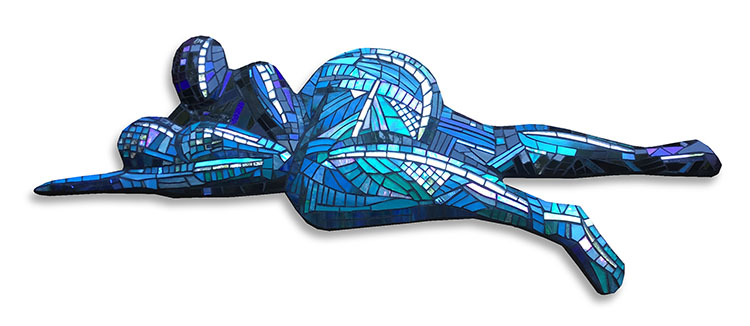
"Dialogue" 35" x 14"

"Untitled Teal/Green" 22" x 22"

"Untitled Blue/Gold" 26" x 20"
I'm on a roll with this subject matter and I'm enjoying the results very much!
Each is glass mosaic on a 3D cement relief substrate.